Photomosaic Generator
Photomosaic generator program written in Python: making art with code.
Overview
This project is a photomosaic generator program I wrote in Python.
The program takes two inputs: a source image and a collection of tile images. It divides the source image into small rectangular regions. Then, each region is replaced by a tile image with similar colors to render an artistic mosaic version of the original image.
Here’s an example: a photo I took of a hummingbird, alongside a photomosaic created by the program using a data set of animal photos as tile images. If you open the uncompressed mosaic image, you can zoom in to see the tile images of giant pandas and penguins that make up the mosaic.
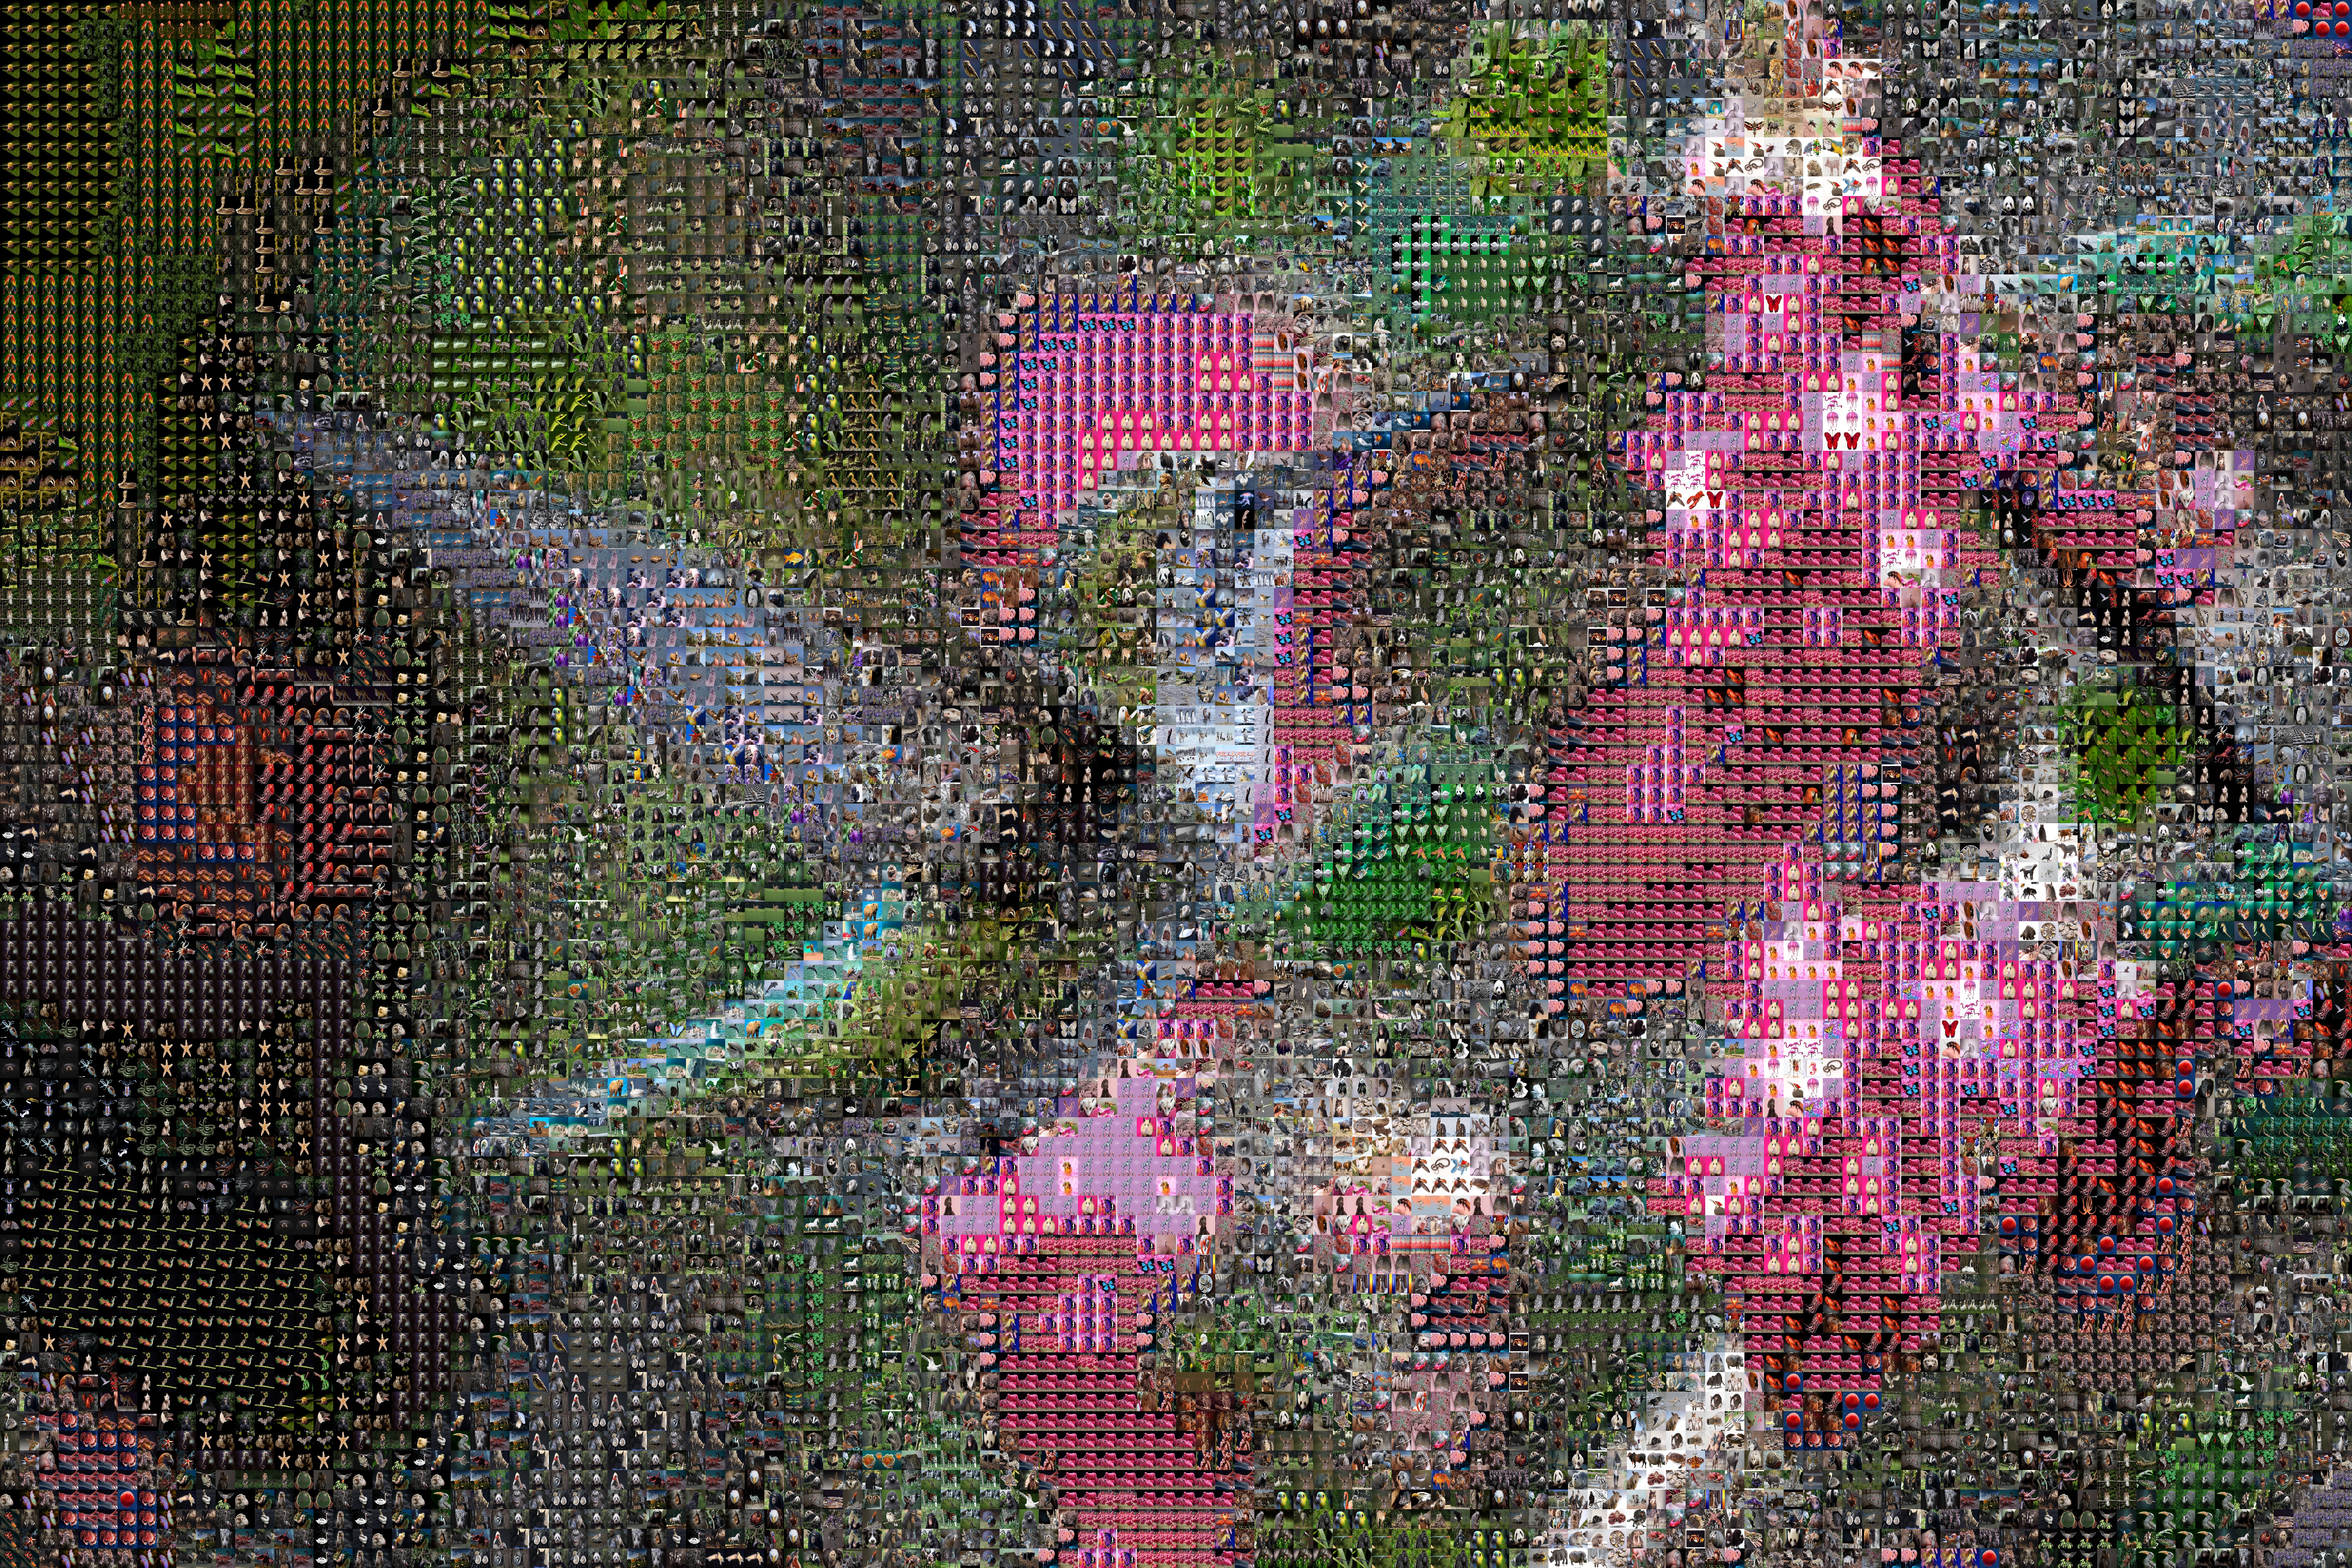


Motivation
I love photography and I love writing code. I looked for a way to combine them, and this project was born!
Sample Outputs
I have created a variety of photomosaics using this program, including…
- my robotics team’s team photo with candid shots of team members as tiles
- Vincent van Gogh’s The Starry Night with tiles of flower pictures
- pictures I took in nature
- pictures of my friend’s cat
- pictures of my friends
- and more
Some of these photomosaics are shown in the gallery below.


Tech Stack
This photomosaic generator was developed in Python. Image processing is done using OpenCV and NumPy.
How It Works
Calculating Average Color
To ensure the final output resembles the original source image, one important functionality that the program requires is the ability to calculate the average color of an image or a region of an image. This allows each region of the source image to be matched to and replaced by a tile image with a similar average color. The following function calculates the average color of an image or image region.
def get_average_color(img):
    average_color = np.average(np.average(img, axis=0), axis=0)
    average_color = np.around(average_color, decimals=-1)
    average_color = tuple(int(i) for i in average_color)
    return average_color
Taking a NumPy array img as input, the function first averages the array along the vertical and horizontal axes, collapsing the image into a triple (r, g, b) that contains the average value of each color channel. Then, the triple is rounded to the nearest multiple of 10. For instance, (123, 191, 17) is rounded to (120, 190, 20). Lastly, the rounded triple is converted from a NumPy array to a tuple.
The rounding is done for two reasons: to reduce the number of color keys in the cache (see later section) and to add a randomness element to the output produced by the program.
- Without rounding, the cache would have as many key-value pairs as there are images in the tile collection (if they all have unique average colors, which is not unusual). By rounding, the cache file size is reduced: if 17 tile images all have average colors that round to
(120, 190, 20), they would be stored in the same color group in the cache file rather than as 17 separate key-value pairs. This also improves color-matching performance (see next section), as fewer colors need to be compared. - Secondly, rounding enables randomness by grouping multiple tile images under the same color group so that
random.choicecan randomly choose any of the tile images in the same group. Without rounding, the output image will look the same every time the program is run with the same inputs, since each region of the source image will match precisely with the one tile image that is closest in color. With rounding, each region of the source image matches a similar color group instead. If the color group contains, for instance, 17 tile images, then any one of the 17 could be randomly chosen. This leads to slight variations in outputs across runs with the same inputs.
Calculating Closest Color
Once the average color is calculated for a region of the source image as explained above, it is necessary to find the tile images that are closest in color. The function below determines the color group that is closest to a specified target color.
def get_closest_color(color, colors):
    cr, cg, cb = color

    min_difference = float("inf")
    closest_color = None
    for c in colors:
        r, g, b = eval(c)
        difference = math.sqrt((r - cr) ** 2 + (g - cg) ** 2 + (b - cb) ** 2)
        if difference < min_difference:
            min_difference = difference
            closest_color = eval(c)

    return closest_color
The function iterates through colors, the list of all color group keys derived from the tile images, and finds the color group that is closest to the given target color. The difference between two colors is measured by the distance between the RGB triples, which is calculated using the distance formula in 3D. The smaller the distance, the closer the colors. The formula below shows how the distance between \((r_1, g_1, b_1)\) and \((r_2, g_2, b_2)\) is calculated.
It is important to note that the value returned from this function is a color code, such as (120, 190, 20). It does not choose an actual image from the color group. That is done afterwards.
Caching
Early in the development of this program, I noticed that a significant bottleneck for the runtime is calculating the average colors of the tile images. Furthermore, these calculations are repetitive, since they remain the same across runs when using the same set of tile images. As a result, I decided to implement caching for this process.
Combined with the get_average_color function explained earlier, a JSON file is created and saved to disk with the following format the first time the program sees a set of tile images:
{
  "(120, 80, 240)": [
    "image1.jpg",
    "image2.jpg"
  ],
  "(130, 90, 230)": [
    "image3.jpg"
  ],
  "(140, 100, 220)": [
    "image4.jpg",
    "image5.jpg",
    "image6.jpg"
  ],
  "..."
}
With this addition to the program, the lengthy calculations of the tile images’ average colors are no longer needed each time the program is run. Once the calculations are done for one set of tile images, the results are saved and reused for all future runs with the same tile images.
Color codes are used as keys in this dictionary. This makes accessing images in a particular color group faster once get_closest_color determines the closest color match.
A limitation of this caching approach is that it only works if the tile image set stays the same. If the user wants to use an evolving set of images (for instance, of their family or friends over time), the caching technique would need to be adjusted accordingly.
Learn More
The code for the project can be found here.